In my last post, I wrote and demonstrated how to create more realism in a 3D mesh-modelled and rendered scene. To emphasize how this can be done, and to create a more in-depth and instructive story, I have decided to pick an old still-life “Farmhouse feast scene” that I modelled and created some time ago using Blender and progress step-by-step in increasing its realism, or at least attempting to, by focusing on the detail, materials, and lighting of the scene. This particular still-life scene is very relevant for this exercise as it was a very early project I undertook when honing my skills in 3D modelling and rendering still-life scenes. By revisiting this scene, I hope to showcase not only how realism in your render can be achieved by significant but simple steps, but also to inspire others who are on a similar journey in the world of 3D art. Throughout this demonstration, I plan to delve into the intricacies of texture mapping, the art of lighting, and the nuanced application of shaders to bring out the raw beauty in everyday objects. Join me on this transformative journey as we breathe new life into this still-life scene, infusing it with a unique blend of nostalgia and modernity.
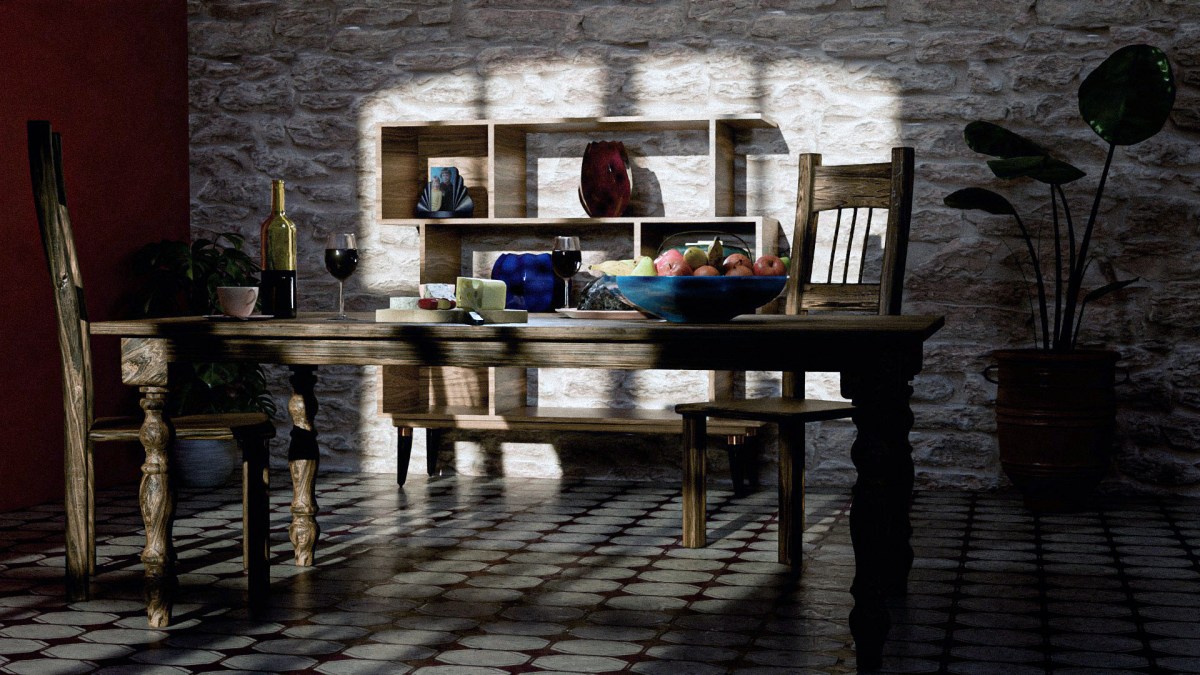
Here is the rendered scene:

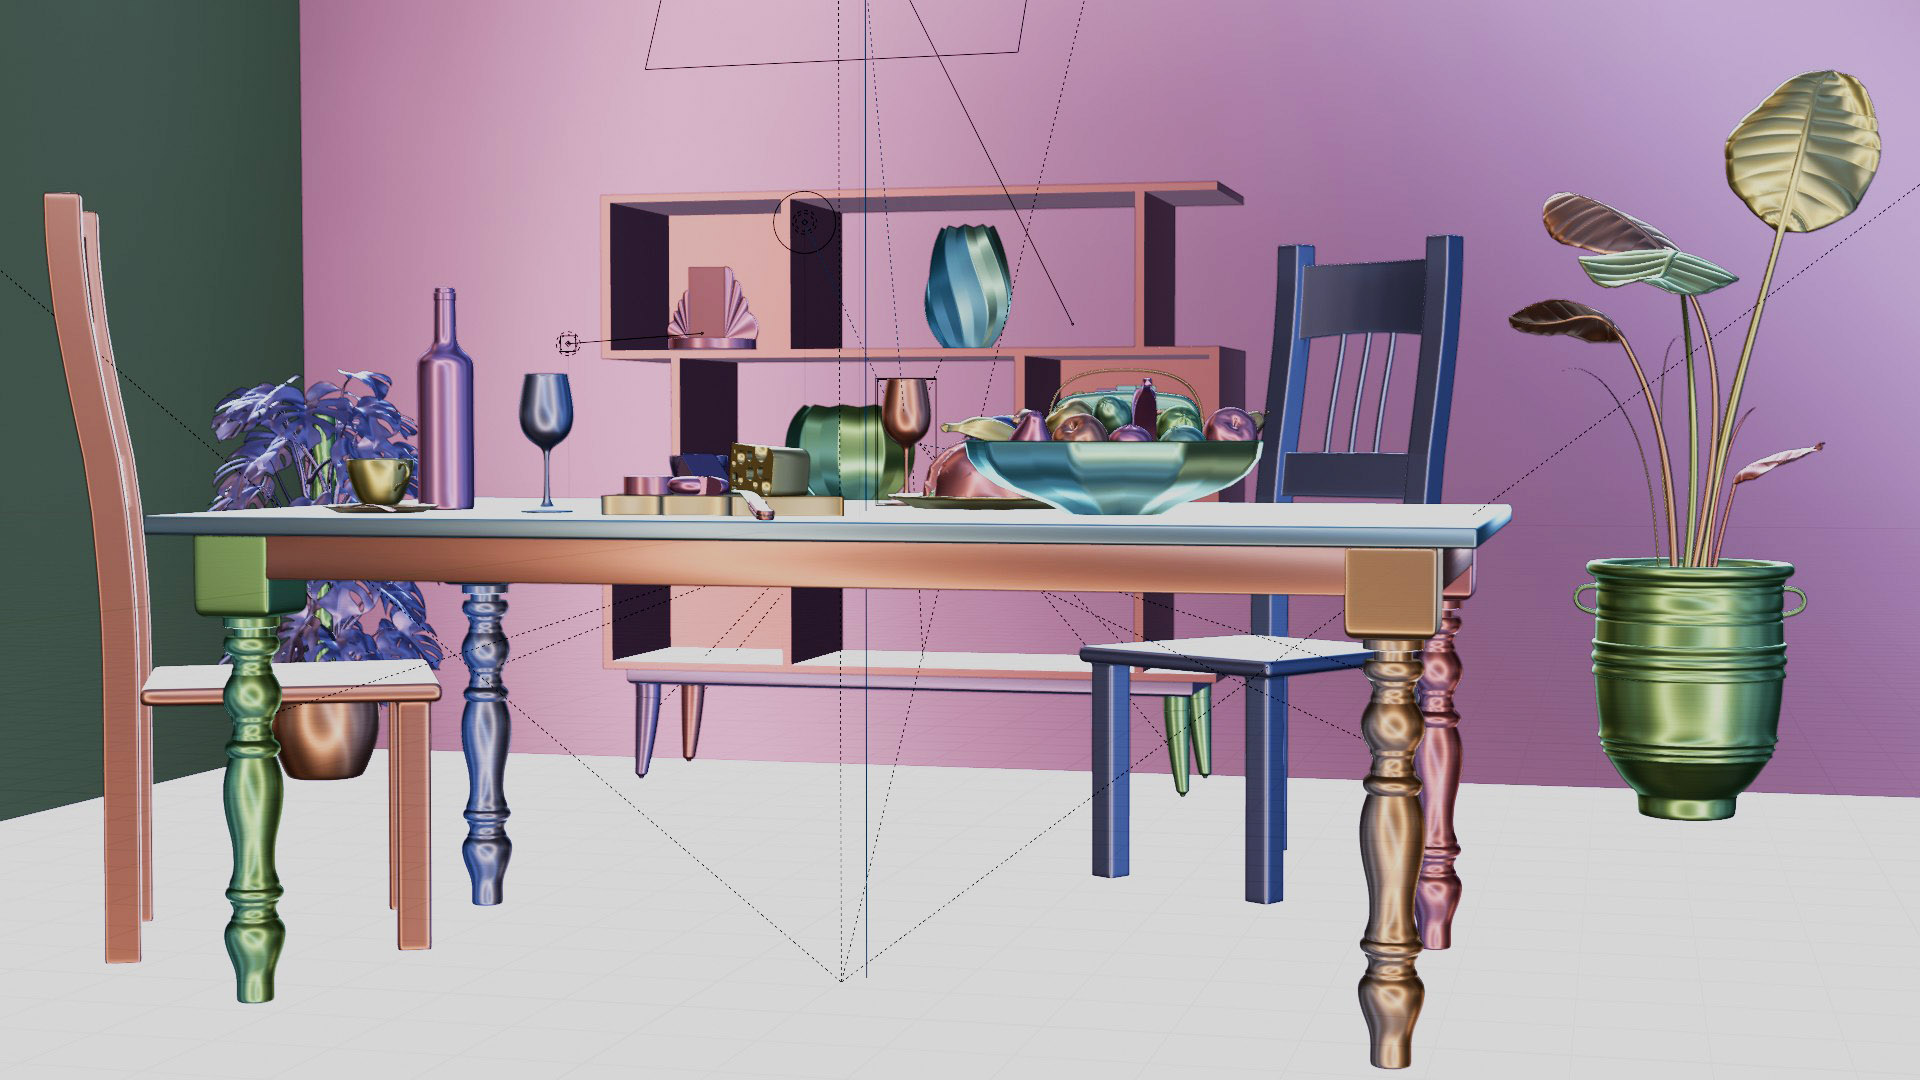
Here is an object view of the scene:
The intention of this first post is to merely introduce the scene we are looking to improve, and showcase the level that it is at right now. In each subsequent post related to this topic, we will visit and work on one major improvement to this scene. In this way, we can learn how to apply this improvement and view its results. For example:
- Should we add more objects, or take some away?
- Shall we rebuild the room and add a window or door?
- Does the room need more wall decor?
- Is the scene perspective right?
- Are the materials for the scene objects good and detailed enough?
- Does there need to be more wear(scratches & dents) on the objects?
- Is the lighting of the scene correct?
- Do the shadows feel right?
- What, if anything, makes the scene look unreal?
- etc, etc
The result of all this is we will hopefully learn how to improve realism and view the results step-by-step. With a systematic approach, we will aim to delve into the intricacies of each enhancement, understanding its impact on the overall composition of the scene. By doing this, we will gain a deeper understanding of the techniques required to achieve a higher level of realism, thereby elevating the quality of our final renders.
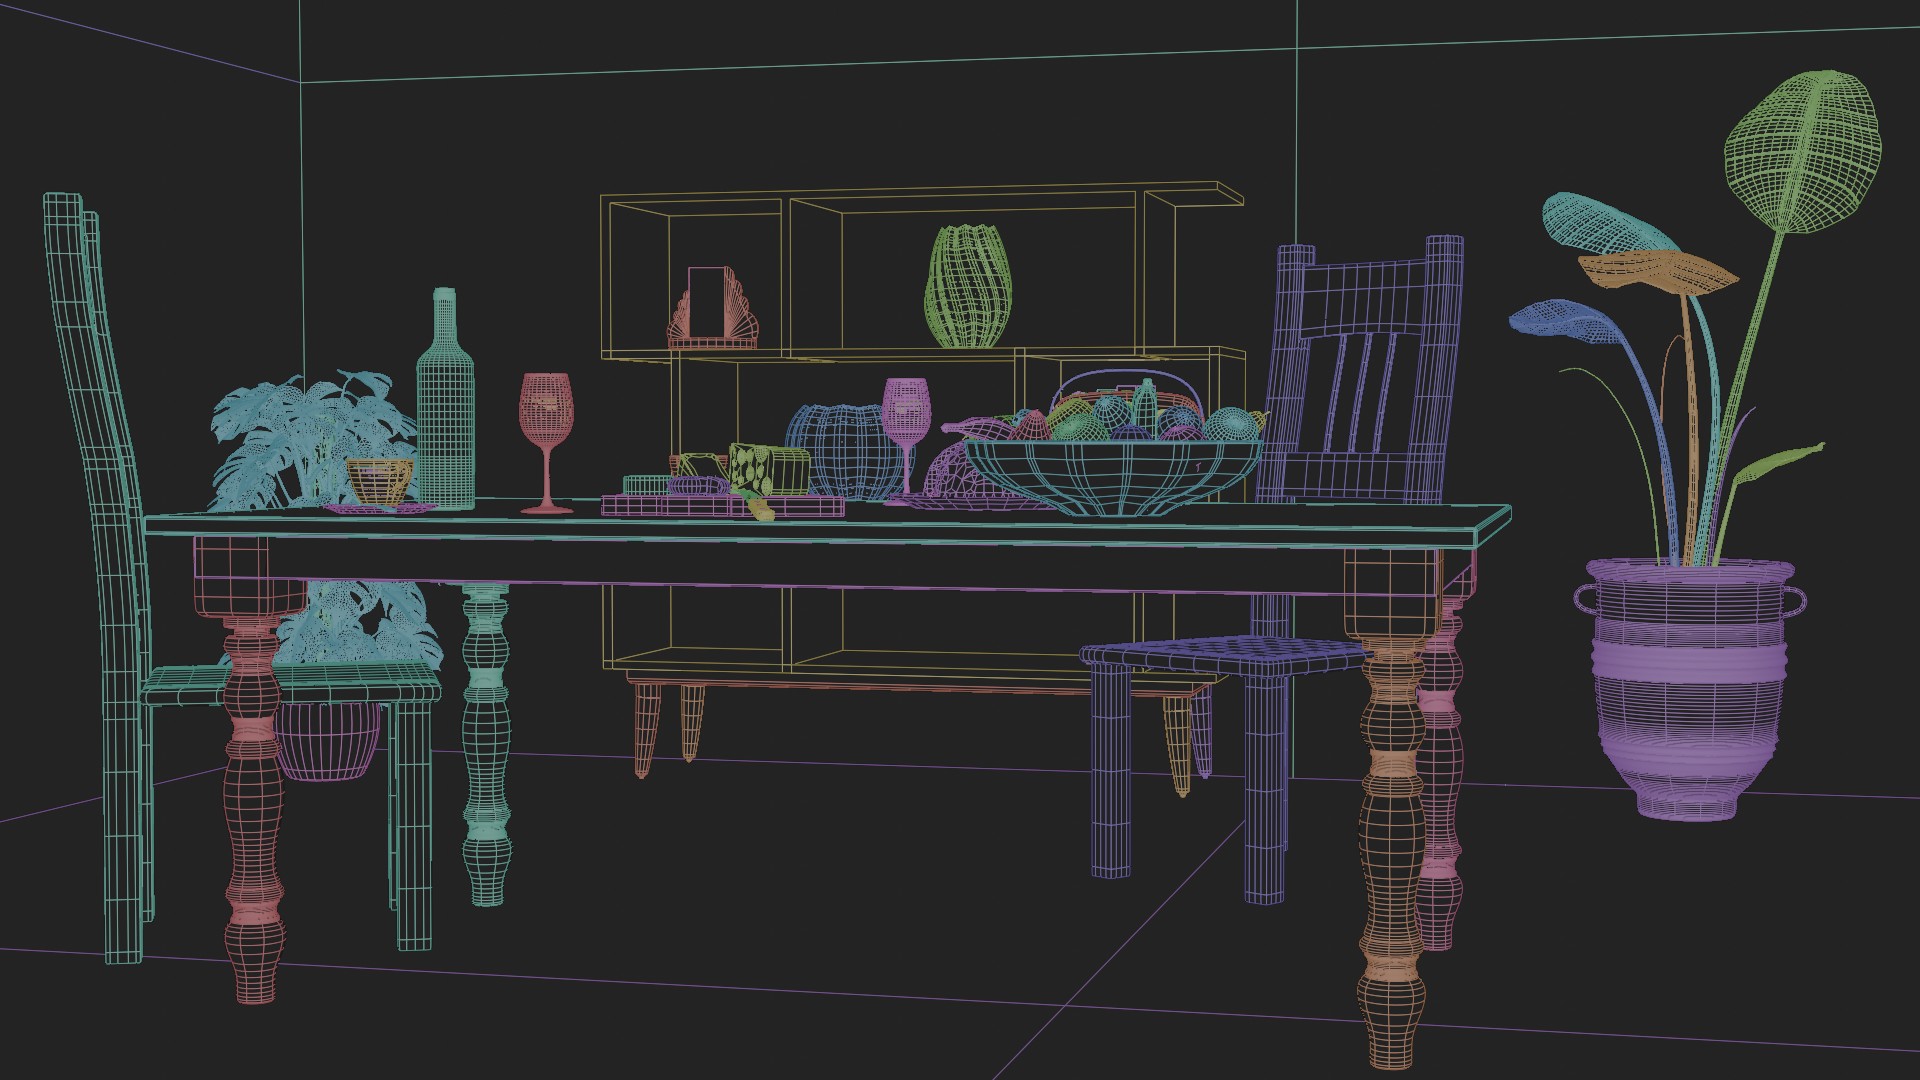
A wire-frame view of the scene:
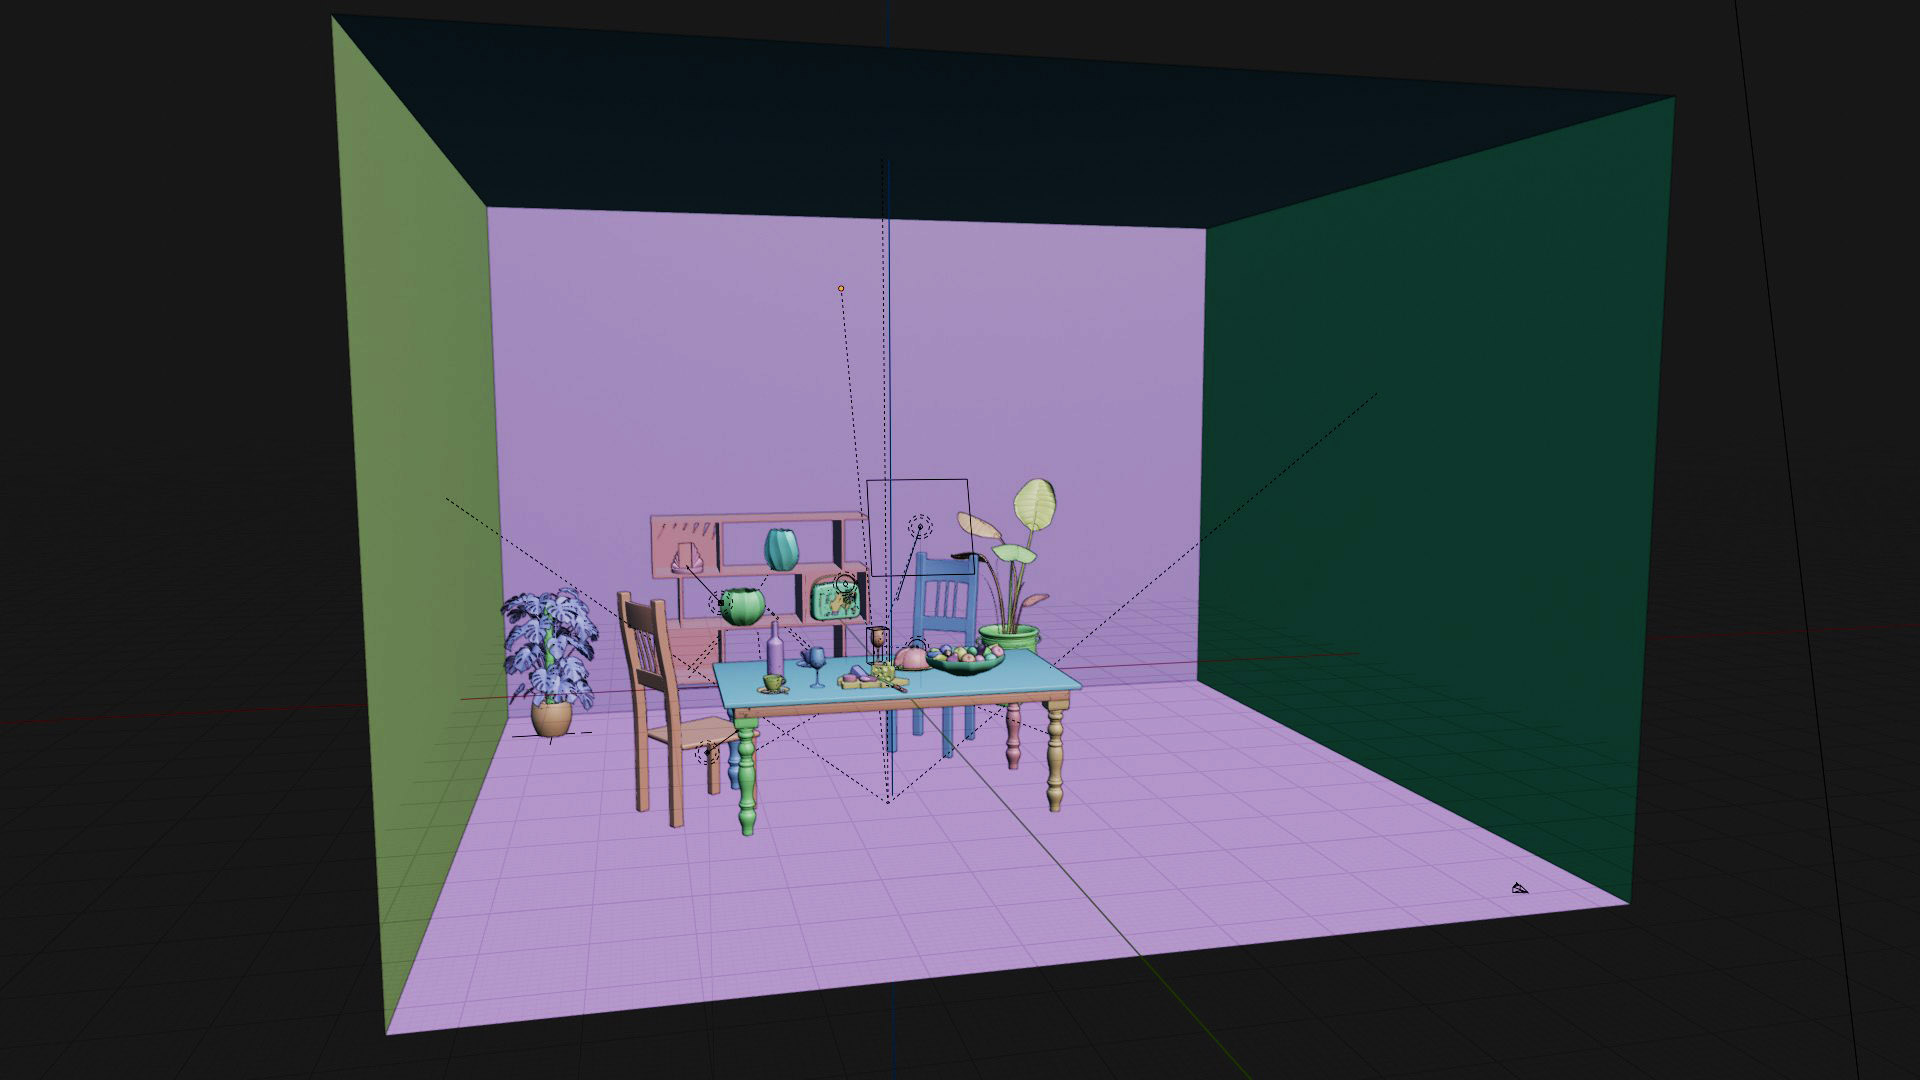
A studio perspective of our scene:
This post will form the first of a connected series investigating improvement of realism in 3D mesh-model rendering. Throughout this series, we will delve into the intricacies of lighting, materials, and textures to uncover the secrets of achieving realism in 3D renderings. Our exploration will encompass techniques used by hobbyists, enthusiasts, artists, and industry professionals to elevate the visual fidelity of 3D models, ultimately leading to a comprehensive learning process for both beginners and seasoned artists. We will shed light on the principles of photorealism and delve into the subtleties that contribute to its perception. It’s important to acknowledge that the perception of realism is inherently subjective, varying from person to person based on individual experiences and perspectives. Nevertheless, my aim is to captivate and inspire as many readers as possible by providing insights as we work on this scene together, and learn techniques that can bring us closer to achieving universally realistic 3D renderings.
I hope you enjoyed this post, and the journey to come😊.
Have a great day everyone!
Kind regards, Jay
Discover more from Jayargonaut - Watch Designer
Subscribe to get the latest posts sent to your email.

Cool! thanks for stopping by my kitchen.
LikeLiked by 3 people
Thank you✌️. Glad you enjoyed the post! Kind regards…Jay😊
LikeLiked by 2 people
Awesome and detailed post as always Jay! 😊 Hope you are well 🙏
LikeLiked by 3 people
Thank you Laura, I am glad you enjoyed the post😊. And thank you for your support! I am very well thank you! I hope you are keeping all well and that Florida weather is treating you kindly! Best…Jay😊☕
LikeLiked by 3 people
Very interesting concepts and the thought process seems to require a good sense of spatial understanding and physics. I certainly see the applications for this. Looking forward to the next posts in the series.
LikeLiked by 3 people
Thank you Ajinkya🙏. I am glad you enjoyed the post and have an interest. Yes, it is not an easy concept to learn and grasp, but certainly a good and rewarding skill if you do have an interest. Thanks for your support! Jay😊
LikeLiked by 3 people
Absolutely fascinating! The detail and what it takes to get this picture is amazing. For a true novice in tech, this really is mind-boggling.
LikeLiked by 4 people
Thank you Dayle🙏. I appreciate your kind words. I am glad you enjoyed the post and have a fascination for this. It is an enjoyable and fascinating subject! Best…Jay😊
LikeLiked by 2 people
BUONA GIORNATA
LikeLiked by 4 people
Buona giornata to you too my friend✌️😊
LikeLiked by 3 people
GRAZIE
LikeLiked by 3 people
Very cool. I still have zero understanding of how 3D works. I admire you learning how to do this.
Thanks for following my blog! I appreciate you.
LikeLiked by 2 people
Thank you Katelon😊. I sincerely appreciate your positive comments and support! You are welcome. I am glad you enjoy my blog. Kind regards…Jay😊
LikeLiked by 2 people
Very cool, Jay. That farmhouse kitchen is spot on 😎
LikeLiked by 3 people
Thank you Darryl! I am glad you like it👍. Now the challenge, over time, is to see if we can improve it🤔. Have a great day mate…Jay😎✌️
LikeLiked by 2 people
BUONA DOMENICA
LikeLiked by 2 people
This is truly amazing! 😊
LikeLiked by 2 people
Thank you Linda for your kind words😊. I am glad you enjoyed it! Stay tuned for more to come. Kind regards…Jay✌️
LikeLiked by 1 person
This is intriguing.
Your final image is lovely.
I haven’t tried anything like this. I’m still drawing the old way.
I think lighting is most important. Of course once the most important thing has been dealt with, the next most important thing becomes most important.
Hmm, sounds like life, or making a movie.
Anyway, I do focus a lot on lighting when I do portraits.
For some reason, when I do my gown drawings, it’s a minimal gesture.
Thank you for another fab post!
LikeLiked by 2 people
Thank you Resa for your great comment! It is good you still draw the old way, as you put it, I think this is a more valuable skill that should never be lost.
You are right, lighting is probably one of the most important aspects, especially in the 3D world!
Thank you for your attentive and quite philosophical comment Resa😎, I sincerely appreciate your insights…Kind regards, Jay✌️
LikeLiked by 2 people
Welcome Jay, and pleasure!
LikeLiked by 2 people
Wow! What a process!
LikeLiked by 3 people
Thank you Valerie😊. I am glad you enjoyed it! Kind regards…Jay.
LikeLiked by 2 people
BUONA DOMENICA ………….
LikeLiked by 2 people
Very beautiful ❤️
LikeLiked by 1 person
Thank you for your kind words my friend👍. I am glad you like it. Kind regards…Jay😊
LikeLike