I wanted to write a brief post on, what I think to be, a fantastic and useful new tool in Adobe Photoshop. This new tool lies within the ‘Camera Raw Filter’ section in Photoshop. A very useful filter and tool that that offers access to the features of ACR in your Photoshop workflow. Basically you can pretty much access and change anything in your image, right at that base raw level. within this filter they have a new tool called the ‘blur-tool’ where you can add depth of focus. I use this occasionally if I have forgotten to add ‘depth-of-focus’ to my camera in Blender, or if I just want to add some more depth-of-focus.
You can apply this depth-of-focus using its AI interpreter, or with a focus picker…of course this doesn’t always get it right, so you have the added advantage of being able to ‘paint’ that focus, or blur, in. To make that ‘painting in’ easier, you can check a checkbox called ‘visualize-depth’, this then creates a ‘heat-map’, or ‘weight-map’ over your image to clearly show the area’s of focus and blur of your image. You can then adjust the focal-range, or pain in more focus or blur. A very effective and useful tool!
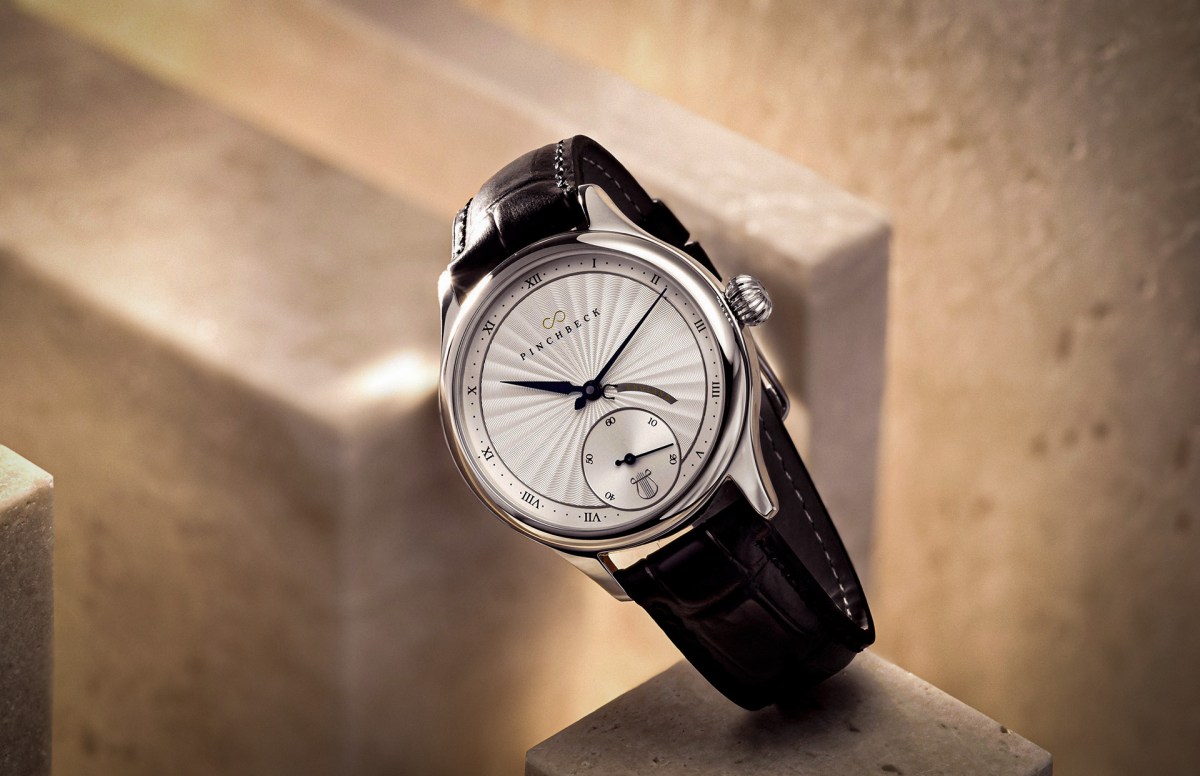
Let’s have a look at a sample: here is an original image of the Orpheus watch, a concept I originated:
It is a nice image, but I want to add more ‘pop’ to the watch itself with some post editing, and of course one way to really make an object pop is to add depth of field. We first need to access the the Camera Raw Filter via: Header-menu > Filter > Camera-Raw-Filter.
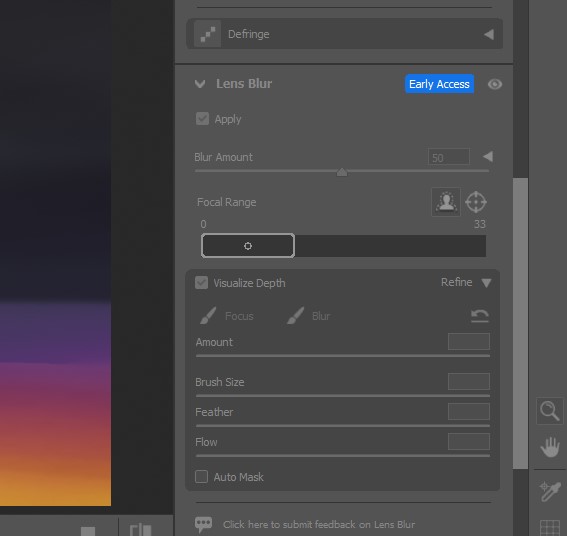
Access the ‘Camera Raw Filter, then on the right hand side menu you have access to all of your filter parameters. Scroll down until you see the ‘Lens Blur’ facility. Check ‘Lens Blur’, what until if has processed your image, then you can check ‘visualize-depth’ to give you that visual ‘heat-map’ to check your focus points:
Running the Lens Blur (above) on the above image, then checking the Visualize Depth gives me this image with the heat-map:
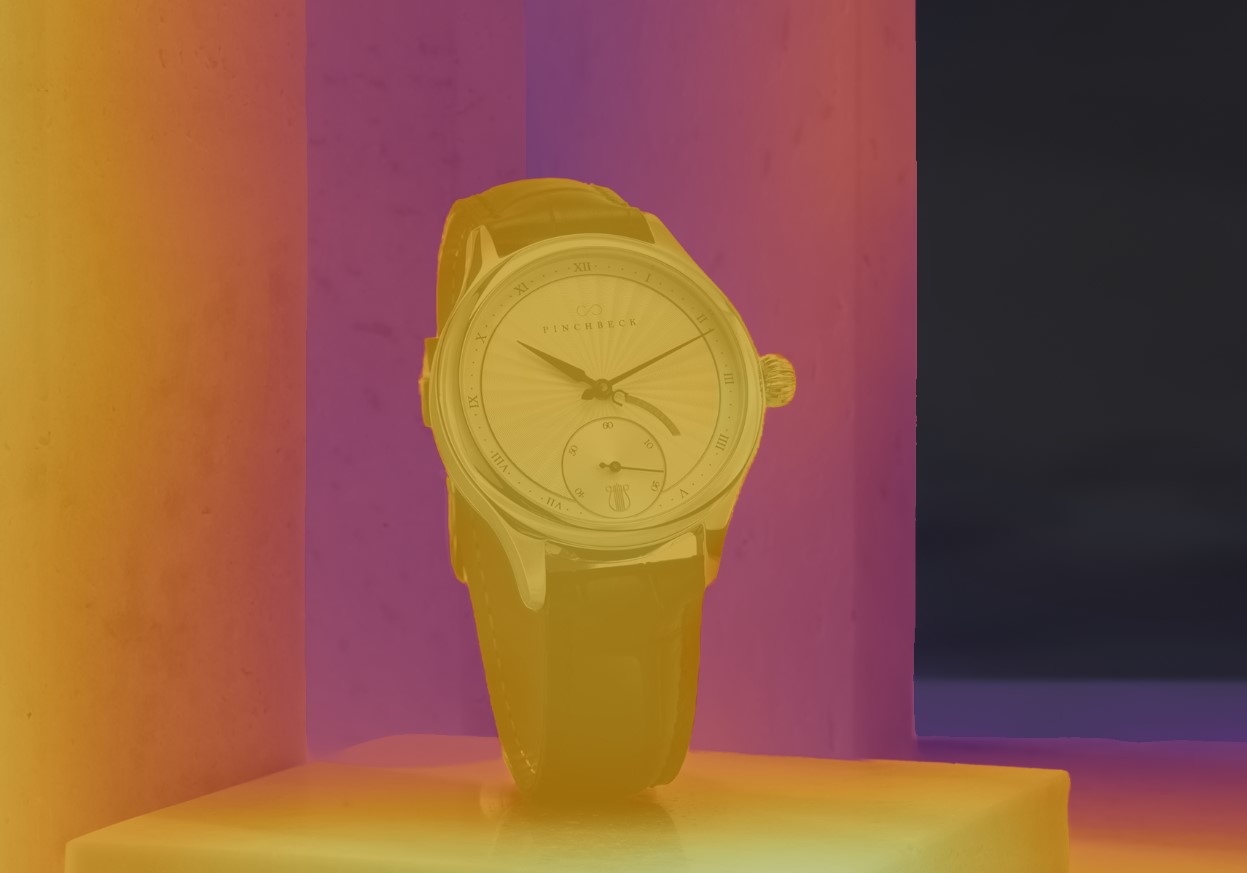
Using this I can see this is quite tidy, and I don’t really need to paint in any more focus or blur, from here I just need to apply the level of blur I want to add my depth-of-focus. For this sample I cranked the blur right up to 85% for emphasis – also because there isn’t actually a huge amount of depth in the photo anyway. A little bit of adjustment on the contrast and texture just for some added pop, and you can quickly bring out the image of the watch from the background:
A before and After image of the Orpheus:
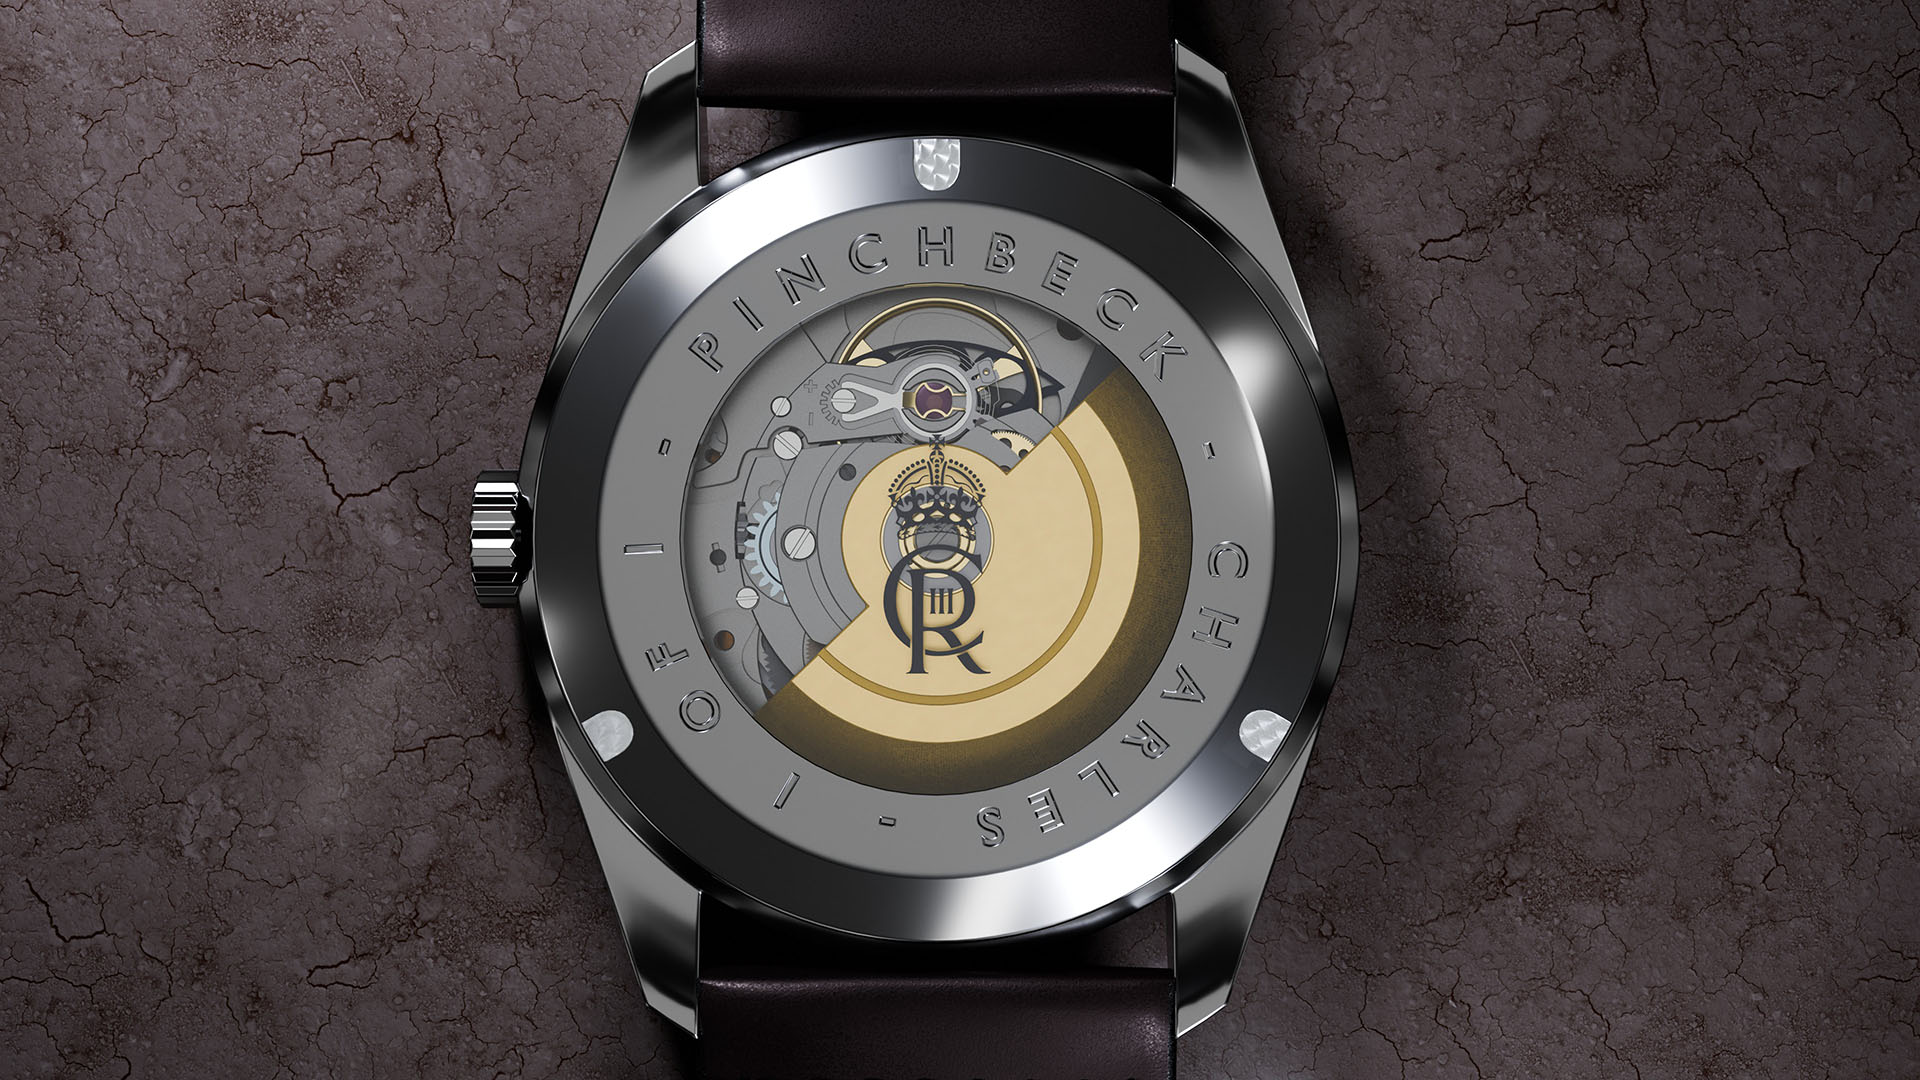
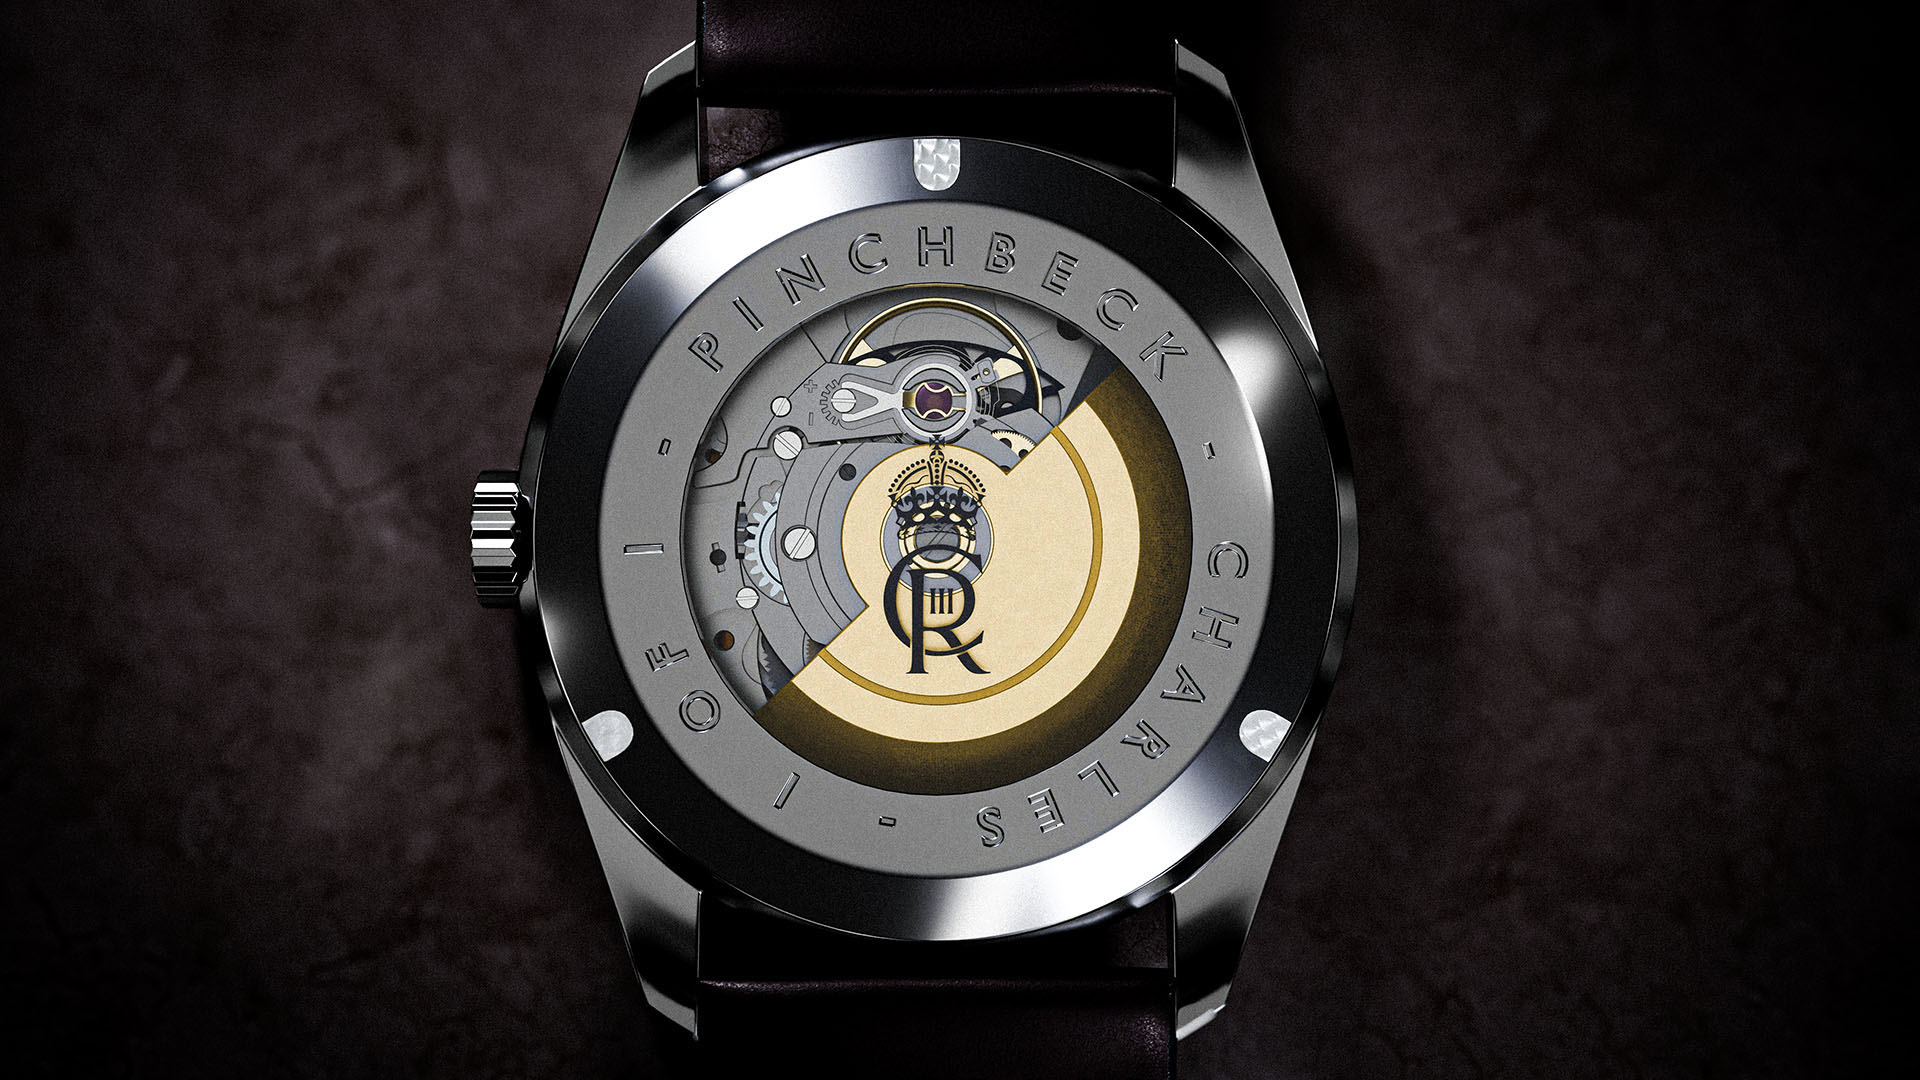
Here is another quick sample, this was a rendered model I made for a private client as a sample for a watch back for them to view before making the watch. As well as the ‘depth-of focus’, or ‘Lens Blur’, the emphasis on this image in the Camera Raw Filter was added: texture, contrast, vibrance, vignette, and ‘grain’ …. to really make it pop. See what you think:
sample watch back render:
Here is the full image post editing:

And the full Post edited Orpheus Image from above:
So, you can see this new tool in Adobe Photoshop is a powerful and very useful tool. It is still in early access mode, so hopefully it will only get better, more accurate, and powerful! Go play about with it and see how useful it is.
I hope you enjoyed this post and found it useful.
Until next time, have a great day and evening everyone 😊.
Kind regards,
Jay
Discover more from Jayargonaut - Watch Designer
Subscribe to get the latest posts sent to your email.

Nice
LikeLiked by 1 person
Hey Nokbew…glad you like it 😊! Best, Jay
LikeLike
BUONA DOMENICA
LikeLiked by 1 person
Thank you worldphoto! Hope you have a great day too😊
LikeLike
GRAZIE 🙂
LikeLiked by 1 person