
Hello. So, I am coming out from under a rock of working in the watch industry for 18 years and building a business in this area, this of course includes many tasks as you would imagine, new concepts, new designs, delivering on promises, looking for the next opportunity…all things that I would imagine come with many different business models. While doing this I have also had the job of being a full-time single Dad, so a busy life making sure everything runs as smooth as possible for us in this often unpredictable world.
At this juncture of my life, with my Son soon to turn 18, I have decided to bring one of the things I love to do, designing new ideas and concepts, to a portal on the internet called a blog! I am hopeful this will be an enjoyable task, one that can bring focus to this adventure, and hopefully one that will help me share what I love, and maybe pick up some new colleagues and friends in this arena of the 3D design world. So to anyone reading this I would like to say hello.
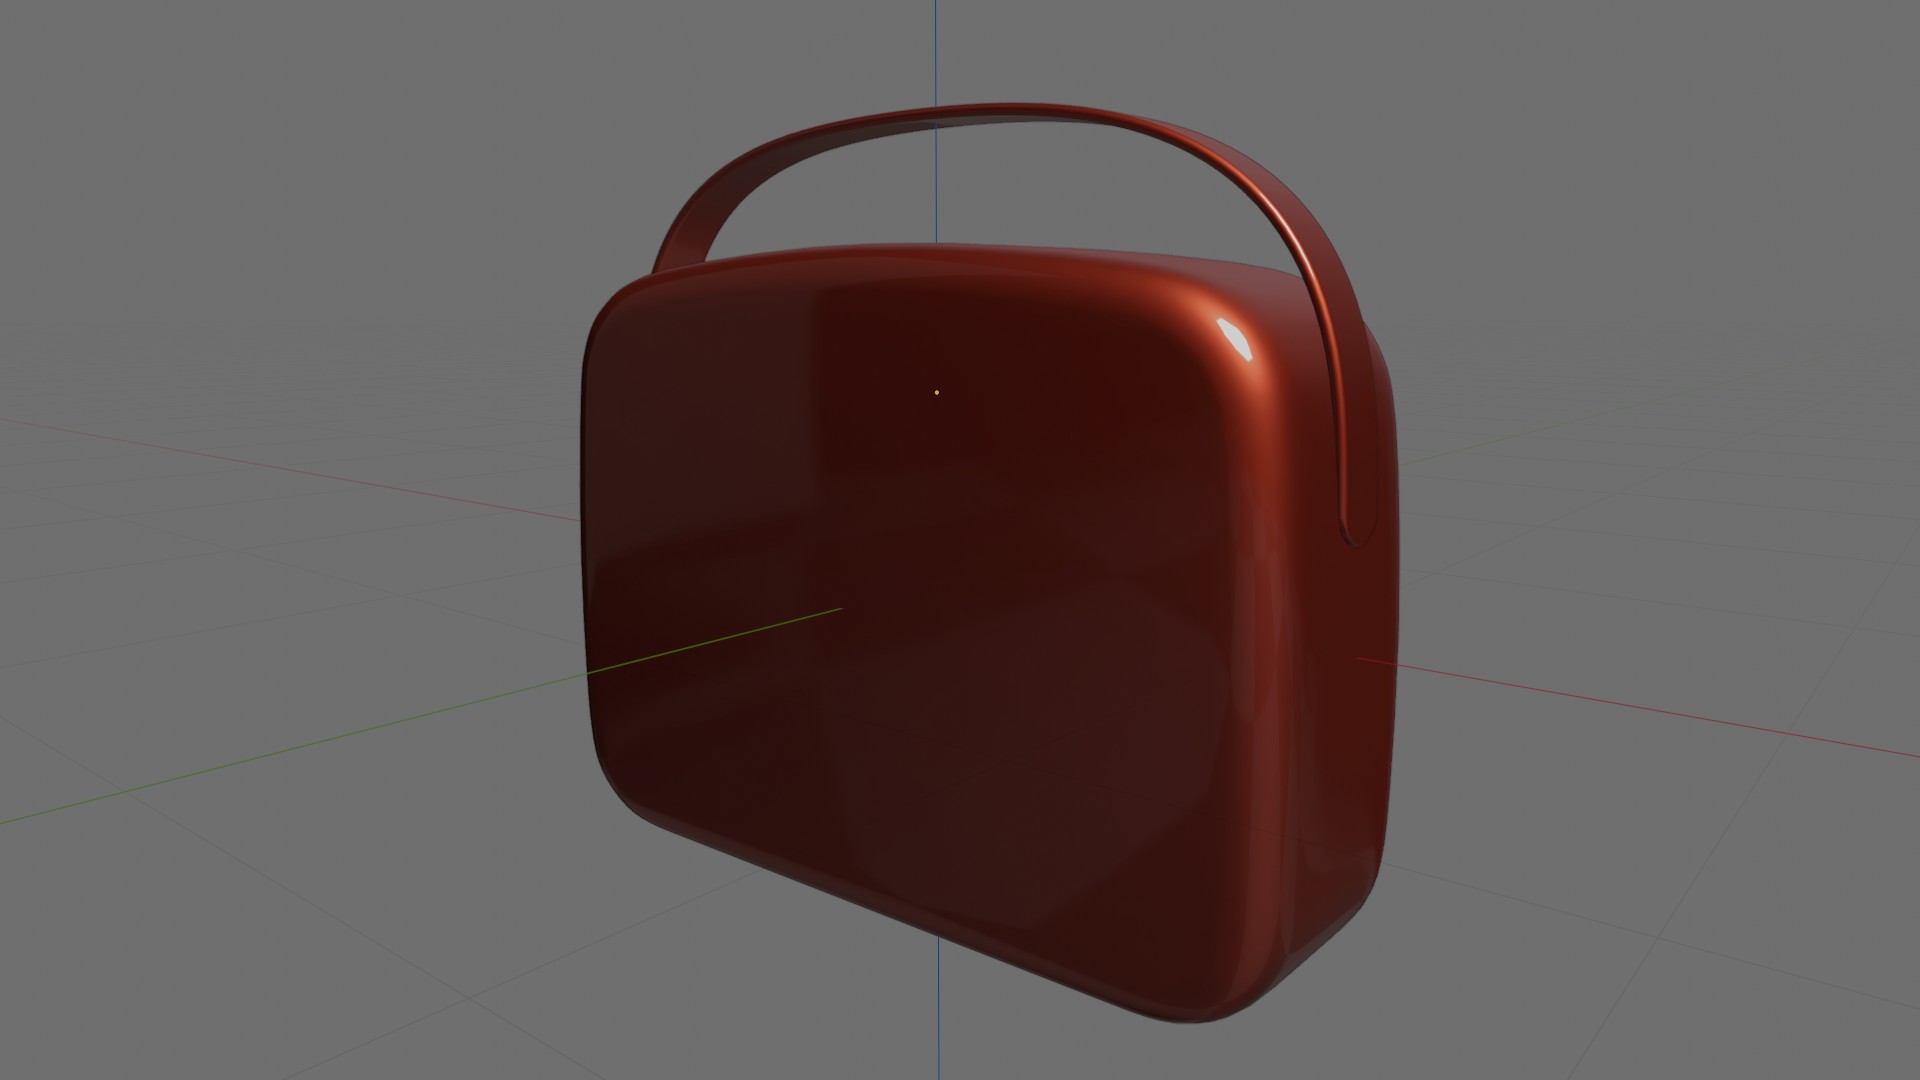
In the future my blogs will be proactive and I am going to try and blog while I am building something, but as I want to get this train going, my first blog is going to be retrospective and give a brief overview of a model I made just 2 days ago: The Argonipper radio! My tribute to the Nordmende ‘Clipper’ and ‘Transita’ Radio. Built using the ‘Blender’ platform, what I use for all my 3D models. Blender is just a fantastic tool which I cannot sing enough praises for, and the latest version 4.0 blender is just wonderful with the new AGX colour management, light linking, and all other enhancements…three cheers for Blender!
I didn’t want to just copy the Nordmende radio, rather it be tribute to, and because I like them both, I thought mine could be an imagination of them both:

The Brief Retrospective Build:
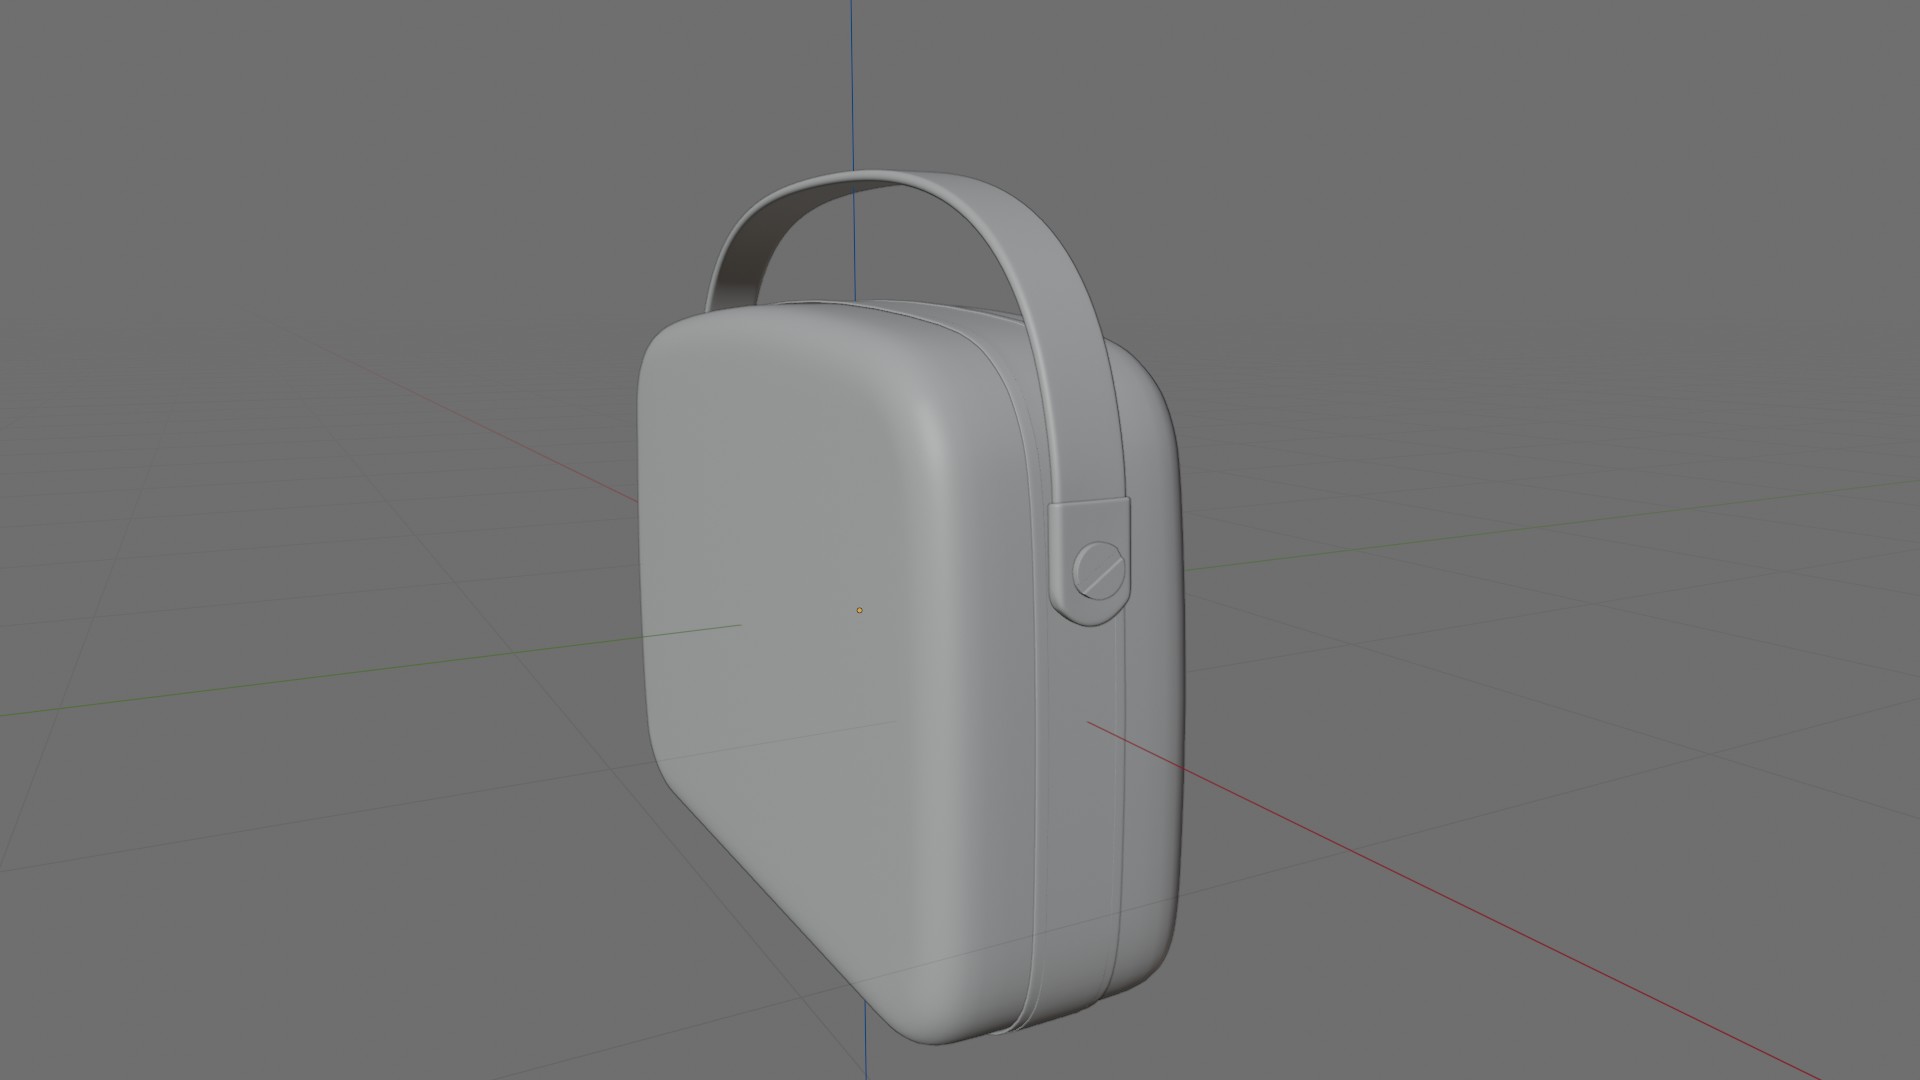
Built using blender, I started with a cube and fashioned the main body, just using traditional vertex manipulation, then fashioned the handle using bezier curves adding geometry and extrusion depth:
The edging and handle detail:
Next came the edging and vent loop around the box and the handle ends. For this I find the best method is to duplicate the original mesh box object, select the faces required for the new section(the loop around the box), invert your selection, this will then select all the vertices not required, then you can delete them. You are then left with the base mesh you need, add a solidify modifier and you are away. I used the same process for the handle end caps. Of course some tidying and scaling is usually needed.
After the handle bolts were fashioned from a cylinder primitive, it was onto creating the top button section. For the button frame I again used the same method as above, duplicating the main box section, selecting what I don’t need(which was most of the box), deleting the vertices not required, and adding a solidify modifier. The buttons were made from cube primitives, and the the top scroll button I used the Blender gears primitive mesh object, and applied the required tweaks:
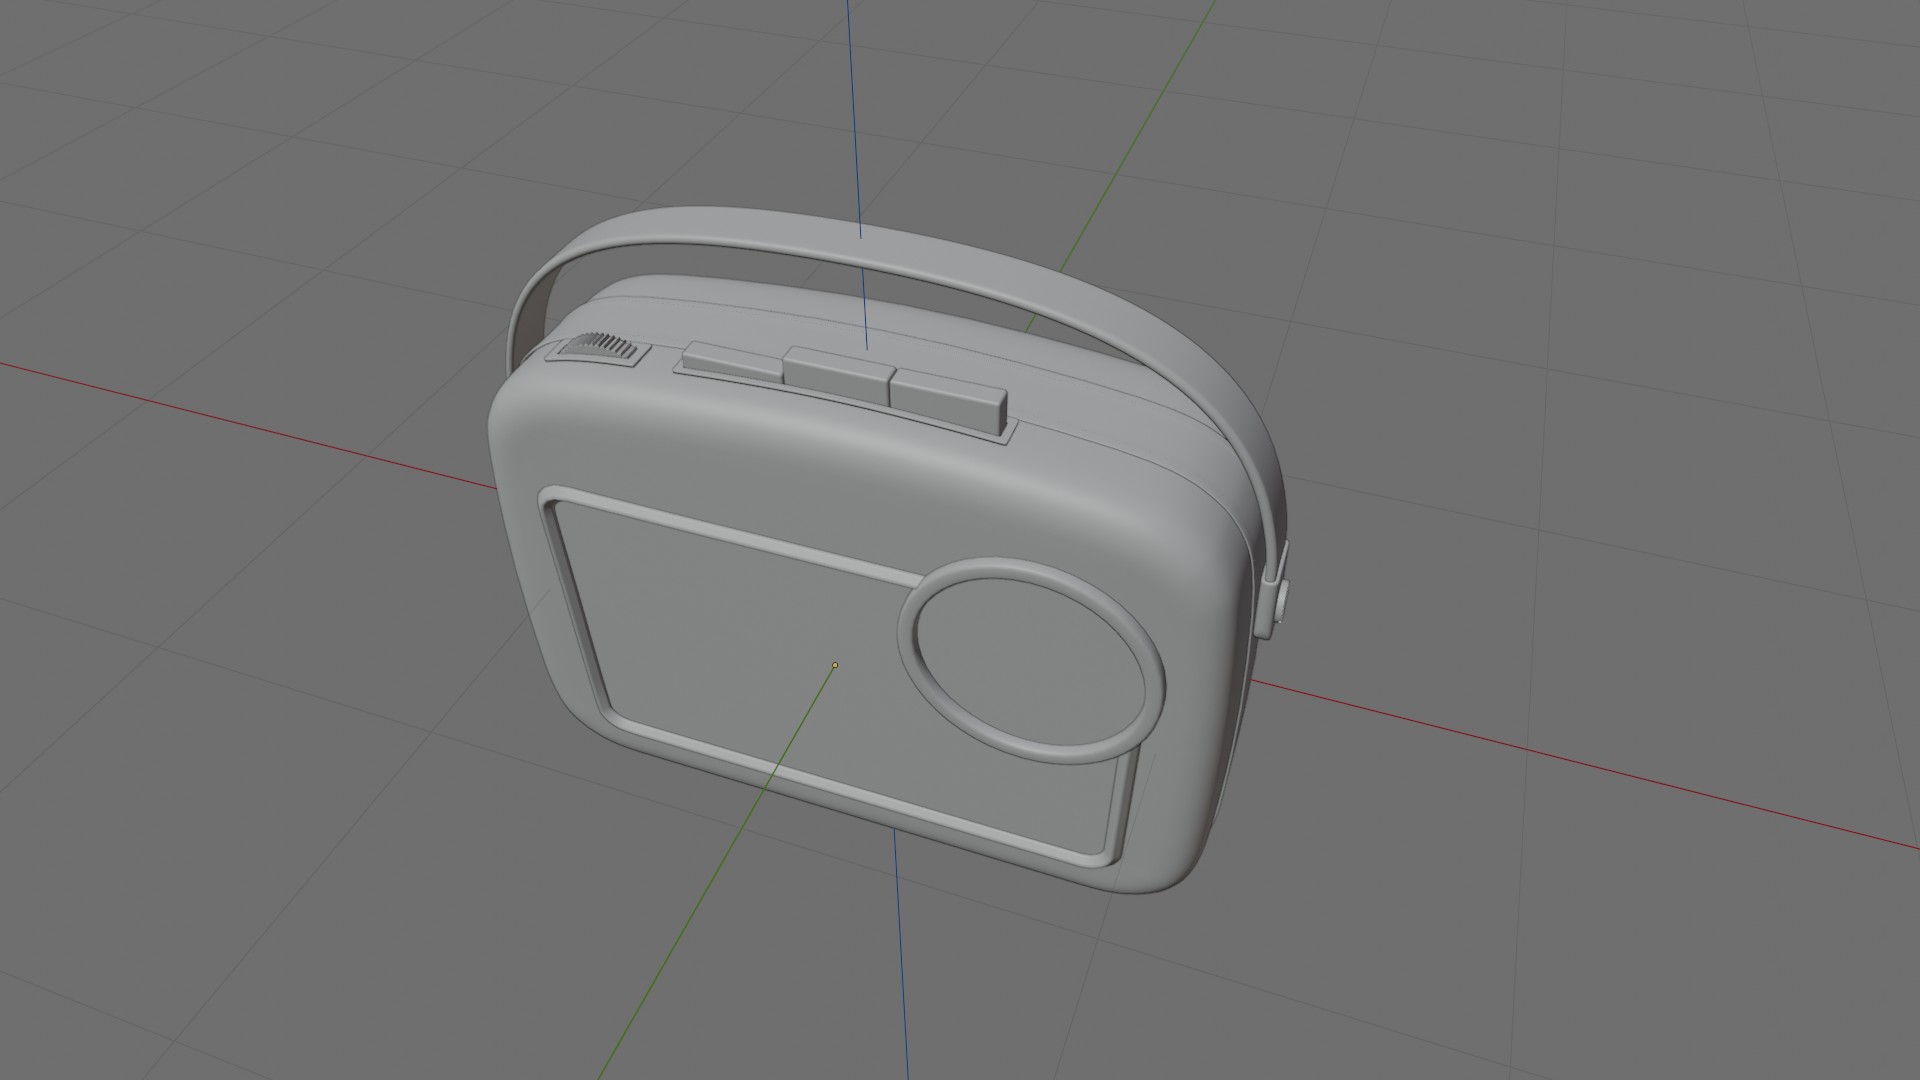
The front detail:
The speaker grill surround and dial surround were made using bezier curves then applying geometry, bezier curves are great, easy to manipulate once you get the hang of them and very useful for this type of linear geometry. Time for the speaker grill. I used an array modifier with a mesh cube to provide my cut-outs, then applied a boolean difference modifier to a mesh plane for the speaker grill. using my array of cubes for the cut-outs:

The finishing touches:
Probably the trickiest and most time consuming part of the build was the tuning dial, but of course this was also the most satisfying part maybe. The text was simply applied to two bezier curves for the numbering, strategically placed and moved into place to get the correct curve position. You will need to change the direction of one of the bezier curves to obtain the opposing number direction, in the watch-world they call this radial flip. The inner decoration rings were taken from duplicates of the dial and inset faces of these duplicates. The hands and points were nurbs paths with applied geometry. Then after some quick fashioning of feet, all that was left was to play around and build some appropriate materials, which of course is always fun!
And just as I am writing this, I have realised I forgot to put the little MW/LW detail on the dial…oh dear:( means I have to go back and correct this. No matter, I am happy with this build, I totally enjoyed it and I am happy with the results :)…
I hope you like it. This of course is by no means meant to be any sort of tutorial, I have just skimmed over this build, it is just a share and a first post to get my blog moving. I hope you appreciate it for what it is.
I will go and put the missing detail on the dial and update when it is done.
Please feel free to comment and get in touch, it would be great to hear feedback and connect!
Thanks and kind regards,
Jay
Discover more from Jayargonaut - Watch Designer
Subscribe to get the latest posts sent to your email.

Definitely will check Blender out (lots of tutorial videos on YouTube). Hoping those will flatten the learning curve.
LikeLiked by 1 person
Hi Emilio. Yes, do. Blender is a great piece of software, and free open source! Steep learning curve at the start, but persevere, once you are over that initial hump and have a basic understanding of how 3D works, it all becomes much easier👍. Best…Jay
LikeLike
Is this the software you exclusively use, or are there other packages you use?
LikeLiked by 1 person
I pretty much use Blender most of the time, it is great software and you can really do anything you want with it when it comes to 3D work. And Blender is free! Which I am always amazed at really. The only other software I use occasionally for 3D modelling is some new 3D CAD software called Plasticity 3D
https://www.plasticity.xyz/
This too is amazing software, and is good for building size-tolerant models, as it is CAD based. It is relatively new, and very good to use. This has a 30 day trial, but is then paid. But still great value.
You do not need this however and many people use Blender solely. Blender really is wonderful:
https://www.blender.org/
LikeLiked by 1 person
I used CAD and Finite Element modelling tools in my profession. That might be a better path for me than Bender.
I’ll have to play with both and see which suits me best. Thank you.
LikeLiked by 1 person
You are welcome Emilio. If you have CAD experience, and you are looking to use the software for 3D printing only mostly, then Plasticity 3D might be the best option.
Plasticity 3D is easier to learn and better for critical measurement, it is just great to use for making 3D objects.
Blender is more of a complete artists tool, still great for making 3D objects, but harder to learn maybe, and bigger, with the ability to animate, paint, render, create VFX.
But, as suggested, try both and see how you get on. Best, Jay.
LikeLiked by 1 person